 Sadharo
Make your own
How to make a sadhu board yourself: templates, nails and steps
A DIY sadhu board is a doable weekend project if you have a drill, patience and hundreds of identical nails. Below: when buying makes more sense, free printable templates for 8, 10 and 12 mm spacing, which wood and nails to use, the build step by step, and how to check the board before you stand on it.
- The Sadharo team
- Updated September 27, 2026
- 12 min read
In short
- The hard part isn't drilling, it's getting every nail the same height, burr-free and firmly fixed. A nail that sits higher than its neighbors takes more of your weight.
- Templates: print our PDF at 100% (“actual size”), one board per foot, and check the scale with a ruler before you drill.
- Materials: plywood is the practical base; galvanized or copper-plated nails from one batch.
- Only for standing. Board makers insist that lying practice needs a back board from a trusted shop, never a homemade one.
Should you make a sadhu board or buy one?
Should you make a sadhu board at all? Be honest with yourself first. A pair of 10 mm boards means 750 holes and 750 nails, and every one of them has to end up at the same height, without burrs, fixed so it can't wobble or sink. A nail that sits higher than its neighbors carries more of your weight, and that's exactly where the unpleasant jab comes from.
Making your own is worth it if you already have a drill (ideally a drill press or a drill guide), enjoy careful work and want a board of your own size. Buying is the better call if you want to start this week, don't have the tools, or want boards for lying on your back: board makers say a back board must come from a trusted shop, and a homemade one is off the table. What to lie on instead is in sadhu board for back.
Free printable sadhu board templates
Our sadhu board DIY PDF templates are A4 pages at true size, with no words on them, just the numbers. Each one shows a board of 170 × 270 mm (about 6.7 × 10.6 in) for one foot, a margin of at least 15 mm (0.6 in) around the edge, and a square grid of crosses in the middle: one cross, one hole.
| Spacing | Grid | Holes per board | Nails for a pair | Template |
|---|---|---|---|---|
| 8 mm | 18 × 31 | 558 | 1,116 | 8 mm template (PDF) |
| 10 mm | 15 × 25 | 375 | 750 | 10 mm template (PDF) |
| 12 mm | 12 × 21 | 252 | 504 | 12 mm template (PDF) |
- Print at 100%. In the print dialog pick “Actual size” or a scale of 100%, never “Fit to page”.
- Check the scale. The line at the bottom of the page is exactly 100 mm (3.9 in). On US Letter paper it may get cut off, so measure the grid instead: from the first to the last cross along the long side is 240 mm (about 9.45 in) on all three templates.
- You need two boards, one per foot. Print the template twice, or use one sheet for both boards.
Which spacing to build? For most people 10 mm is the all-round choice. 8 mm is the gentlest to stand on but about 50% more work, and 12 mm is quicker to make but meant for people who already stand calmly for 15 minutes or more. How spacing changes the feel is in the sadhu board spacing guide.
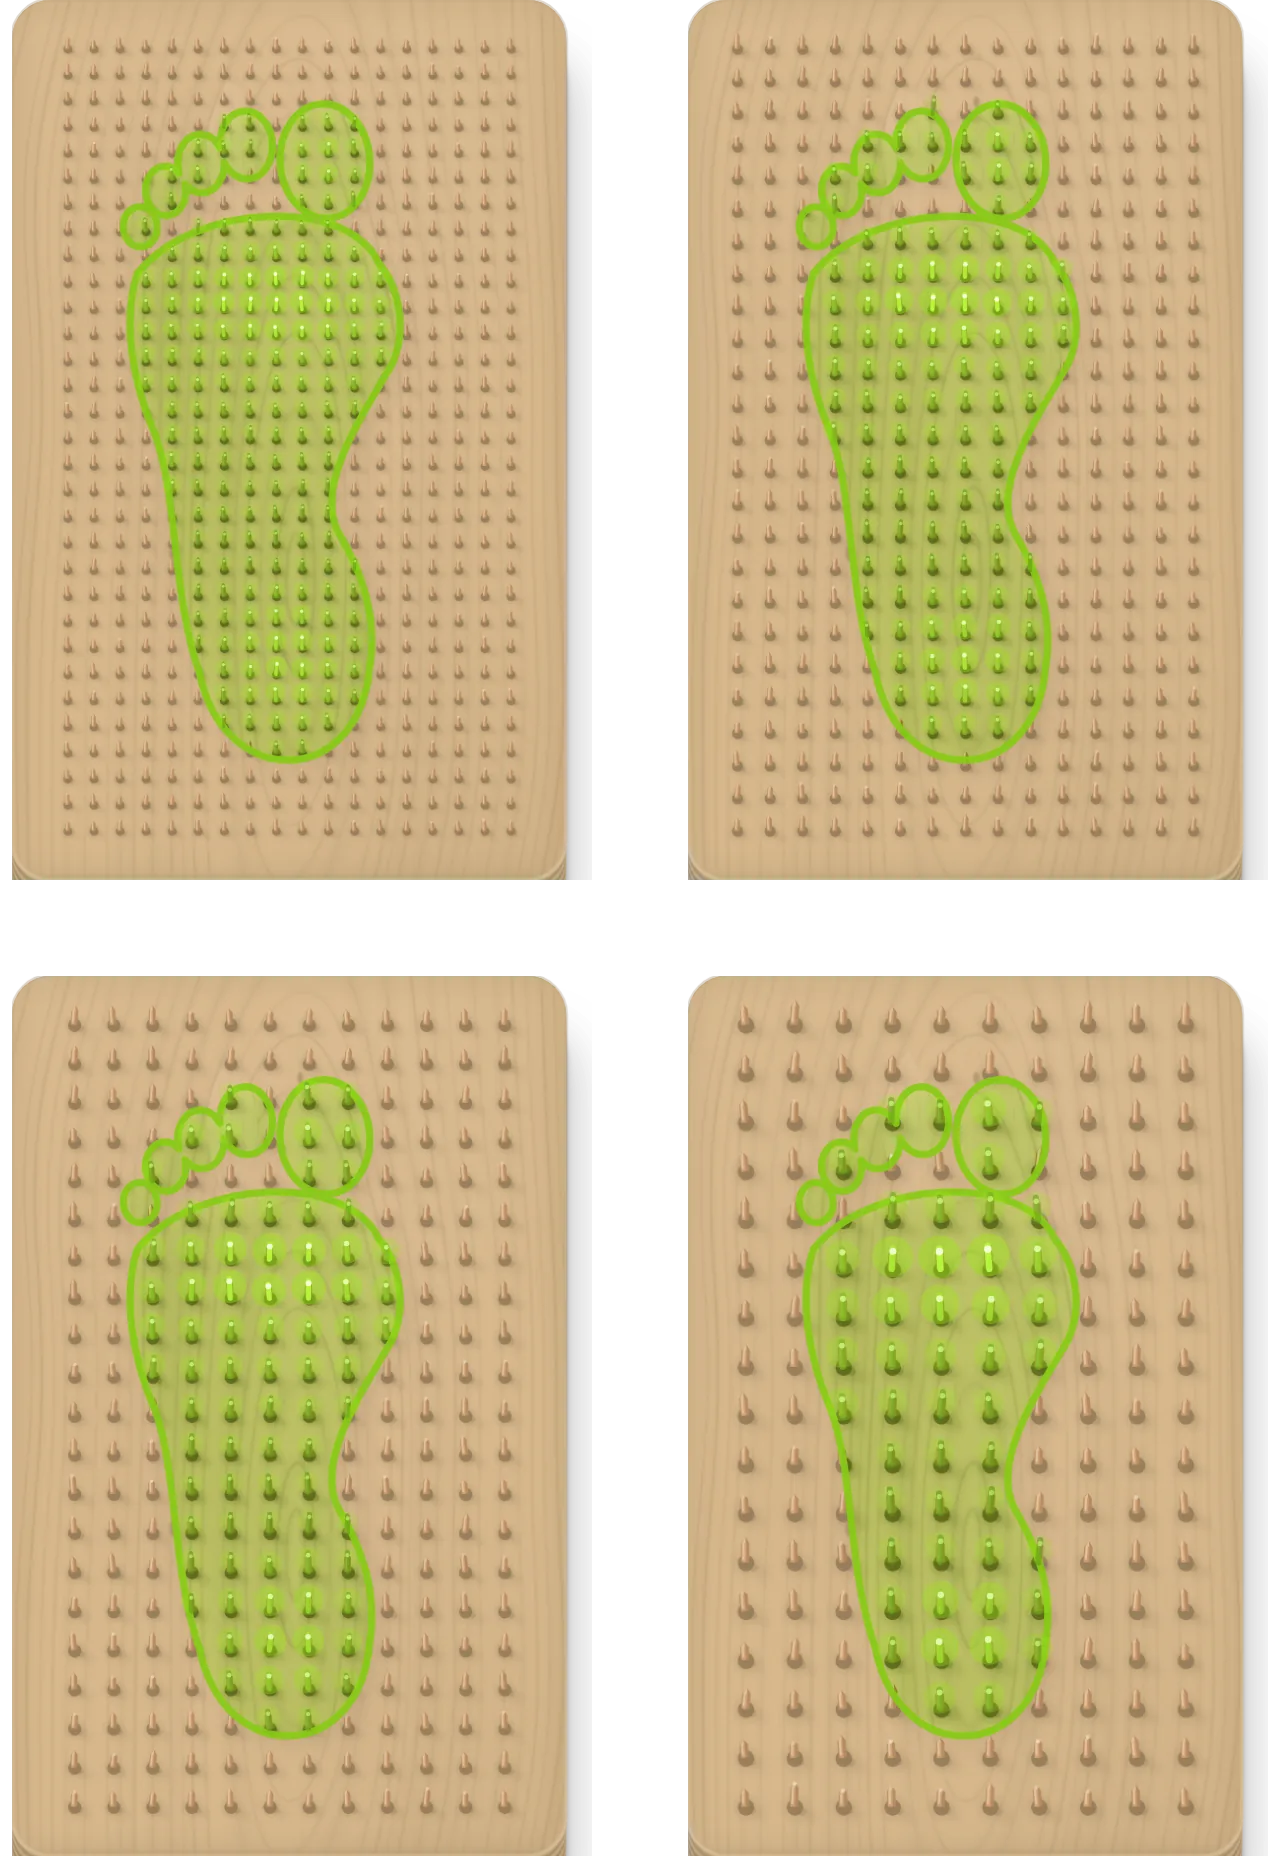
The templates use a square grid because it's the easiest to mark and drill. Diamond and other layouts are possible too, but you'd have to lay them out yourself.
Plywood or solid wood: what to make the base from
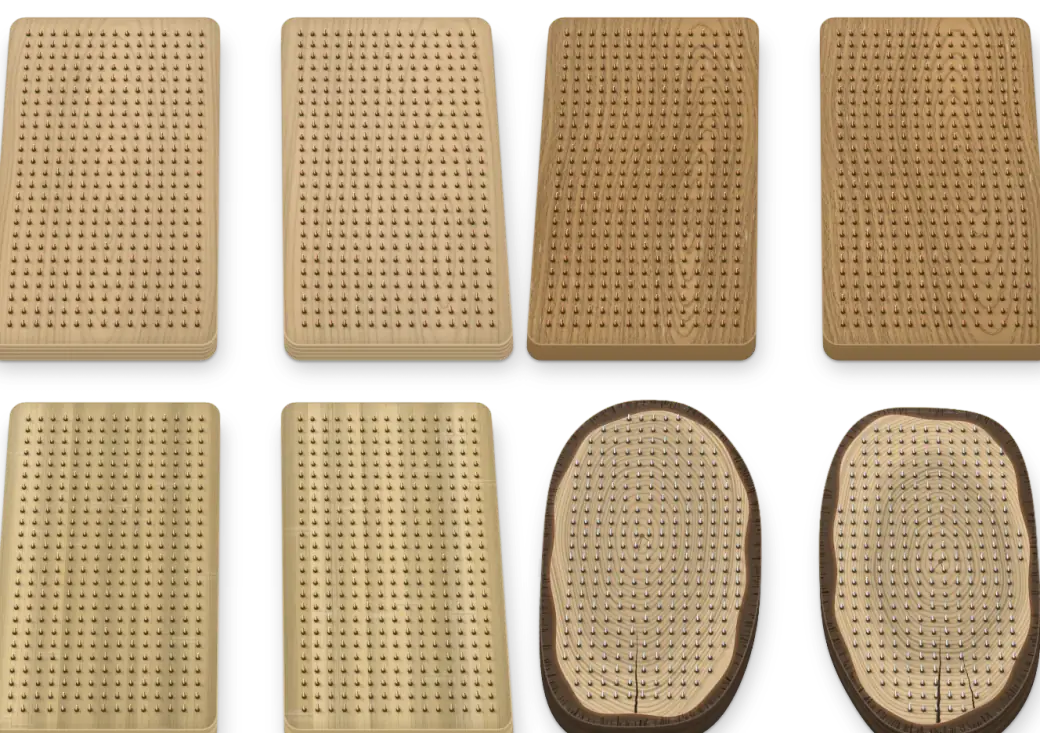
Sadhu board vs plywood is a common question, and plywood is the practical answer: it's stable, light, doesn't split between tightly spaced holes and holds nails for years. Birch plywood is a popular choice, and moisture-resistant plywood is better still. Solid hardwood such as oak looks beautiful, but it's harder to drill, and a dense grid of holes can split it along the grain. A tree slice isn't flat and tends to crack, so it's a poor base for a first build.
- Base: usually 15 to 20 mm (about ⅝ to ¾ in) thick. A thicker board holds the nails more firmly.
- Bottom panel: a thin sheet, usually 3 to 6 mm (⅛ to ¼ in) plywood or hardboard, to cover the nail heads from below.
- Non-slip feet or a rubber pad for the underside, so the board doesn't slide.
Which nails to use
What matters most for a DIY nail board is that all the nails are identical: same length, same thickness, same point, ideally from one box.
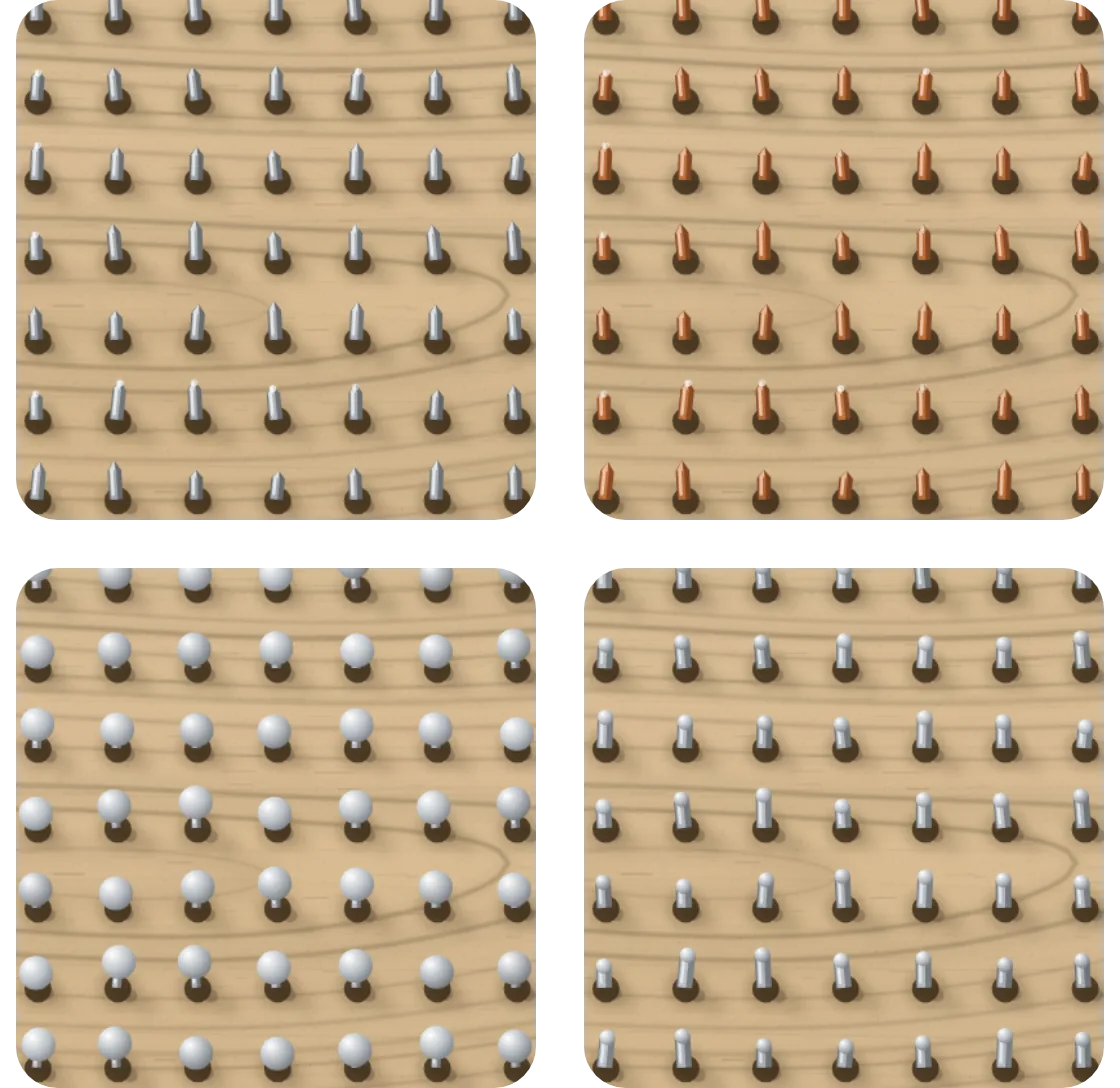
- Galvanized (zinc-plated) wire nails are the usual choice: cheap, easy to find and rust-resistant as long as the board stays dry.
- Copper-plated nails are steel with a copper layer. They look warmer and may darken over time.
- Solid copper nails are soft and bend more easily when you drive them, which makes a home build harder.
- Plain uncoated steel nails rust. Skip them.
For length, add up the base thickness and the height you want the nails to stick out. On most boards the nails stand somewhere around 1 to 2 cm (about ⅜ to ¾ in) above the wood. The nails have to pass right through the base, so their heads end up flush with the underside and the points face up. Buy about 10% extra and set aside any bent or shorter ones. How the metals compare in care and looks is covered in the sadhu board spacing guide.
Tools you'll need
For a DIY stand-on-nails board, the drill does most of the work, and keeping it straight is what counts.
- A drill, ideally a drill press or a drill guide, so every hole is vertical. A slanted hole means a slanted nail.
- Drill bits slightly thinner than the nail shank. Test on an offcut first.
- An awl or center punch to mark the crosses.
- A hammer and a flat hardwood block, or clamps, to press the nails in evenly.
- A steel ruler or straightedge, and calipers if you have them.
- A fine file or fine sandpaper for burrs.
- A saw, unless the lumber yard cuts the blanks for you, plus wood glue and small screws for the bottom panel.
- Cut-resistant gloves, safety glasses and masking tape.
How to make a sadhu board, step by step
- Mark the holes from the template. Cut two blanks of 170 × 270 mm (6.7 × 10.6 in) and sand the top face now: it's much easier before the nails go in. Tape the template onto the top face, check it hasn't shifted, and punch a small dent at the center of every cross.
- Drill pilot holes. Clamp the blank to the table and drill straight through at every mark, perpendicular to the surface. Try the fit on an offcut first: the nail should go in with firm taps, not slide in by hand, and the wood mustn't crack.
- Drive or press in the nails. Turn the blank top face down and rest it on two battens along the edges, higher than the nails will stick out, so the points come out into the gap. Insert the nails from the underside and tap each one until its head is flush with the wood. Pressing a whole row at once with a flat block and a clamp keeps the heads even.
- Even out the height. Lay a straightedge across the heads: they should all be flush. Then turn the board over and check the points the same way, in several directions. If a nail stands out, first check its head is fully home; if it is, that nail is longer than the rest, so pull it and replace it. When everything is even, glue and screw the bottom panel over the heads so no nail can be pushed down under your weight.
- Deal with points and burrs. Look at every point with a good light. Remove burrs with a fine file or sandpaper, working away from the tip. Don't sharpen the points: an ordinary nail point is sharp enough. Wipe off any metal dust.
- Check the board. Go through the checklist below, nail by nail if you have to.
- Finish the base. Round the edges and corners, sand them, and treat the wood with oil or a water-based finish, keeping it off the nails. Let it dry fully, then fit the non-slip feet.
Safety while you build and store it
- Gloves and glasses. Wear cut-resistant gloves whenever you handle the board with the points up, and safety glasses while drilling and hammering: a nail can bounce.
- Clamp, don't hold. Keep the blank clamped while you drill.
- Kids and pets out. Keep them away from the workbench and from the finished board.
- Never points-up on the floor. Store the board in a case or cover the nails with a sheet of plywood or thick foam. Stepping on it by accident is far riskier than stepping on it on purpose.
How to check a homemade board before you stand on it
- Same height: a straightedge laid across the points touches all of them, in every direction.
- No burrs or rust: run a gloved hand lightly over the surface; nothing should catch.
- No loose nails: press each row with a flat block. Nothing should wobble, sink or turn.
- Clean underside: no points or heads poking through, the bottom panel is firmly fixed.
- Flat and steady: the board doesn't rock on the floor or slide.
- Smooth edges: no splinters on the sides or corners.
Then test it the gentle way: sit on a chair, put your feet on the boards and slowly shift some weight onto them, as described in how to use a sadhu board. If one spot keeps jabbing harder than the rest, find that nail with the straightedge before you stand. If you're unsure whether the practice suits you at all, read sadhu board side effects first.
Add your homemade board to Sadharo
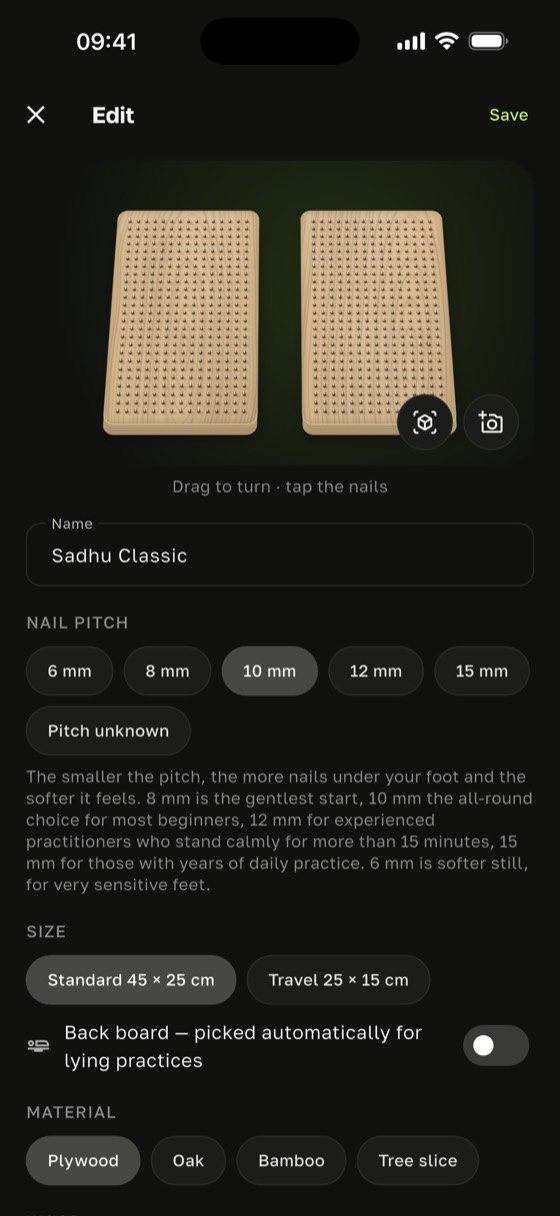
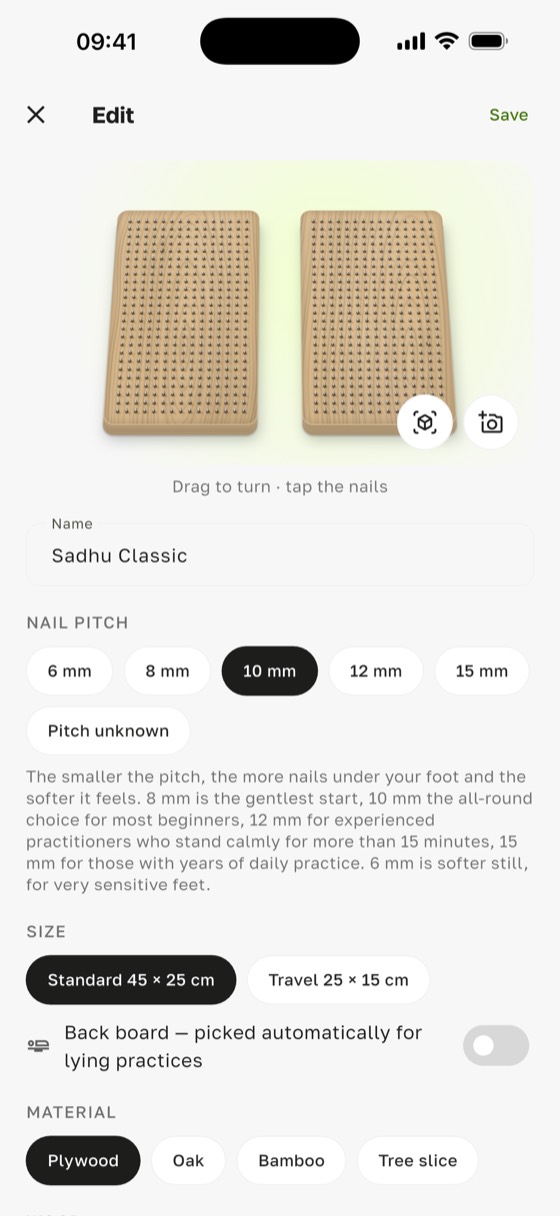
In Sadharo you can add your own board: give it a name and pick its nail spacing, from 6 to 15 mm, or “Pitch unknown”. The program goals adjust to the spacing, so a sharper board gets shorter targets. How much shorter is shown in how long to stand on a sadhu board.
Questions about making a sadhu board
Why are sadhu boards so expensive?
Mostly because of the work you've just read about: hundreds of holes, hundreds of identical nails, even heights, burr removal and a finished base. Making one yourself saves money, not time.
Is there a DIY sadhu nail board kit?
Some sellers offer pre-drilled bases with nails. If you go for a kit, check the finished board exactly as above: same height, no burrs, no loose nails.
Can you make a sadhu board without a drill?
It's not a good idea. Without pilot holes the nails wander and lean, the wood can split, and it's almost impossible to keep the heights even.
Which spacing is easiest to make?
12 mm has the fewest holes, 252 per board, but it's a firm board meant for experienced practitioners. 10 mm is the best balance of work and comfort for most people.
Can I make a board to lie on?
No. Board makers say a back board for lying practice must come from a trusted shop, never a homemade one: your spine lies in the gap between two halves, and there's no room for error. More in sadhu board for back.
This article isn't medical advice. Sadharo isn't a medical device. Effects are described from practitioners' experience and published research, not as a promise of results.